Connect S3
Configure an rclone remote for your bucket.
 Glacier BackupManager for Synology
SYNOLOGY → S3 GLACIER DEEP ARCHIVE
A self-hosted interface for choosing what to back up, creating dated TAR files, running dry runs and monitoring rclone jobs.
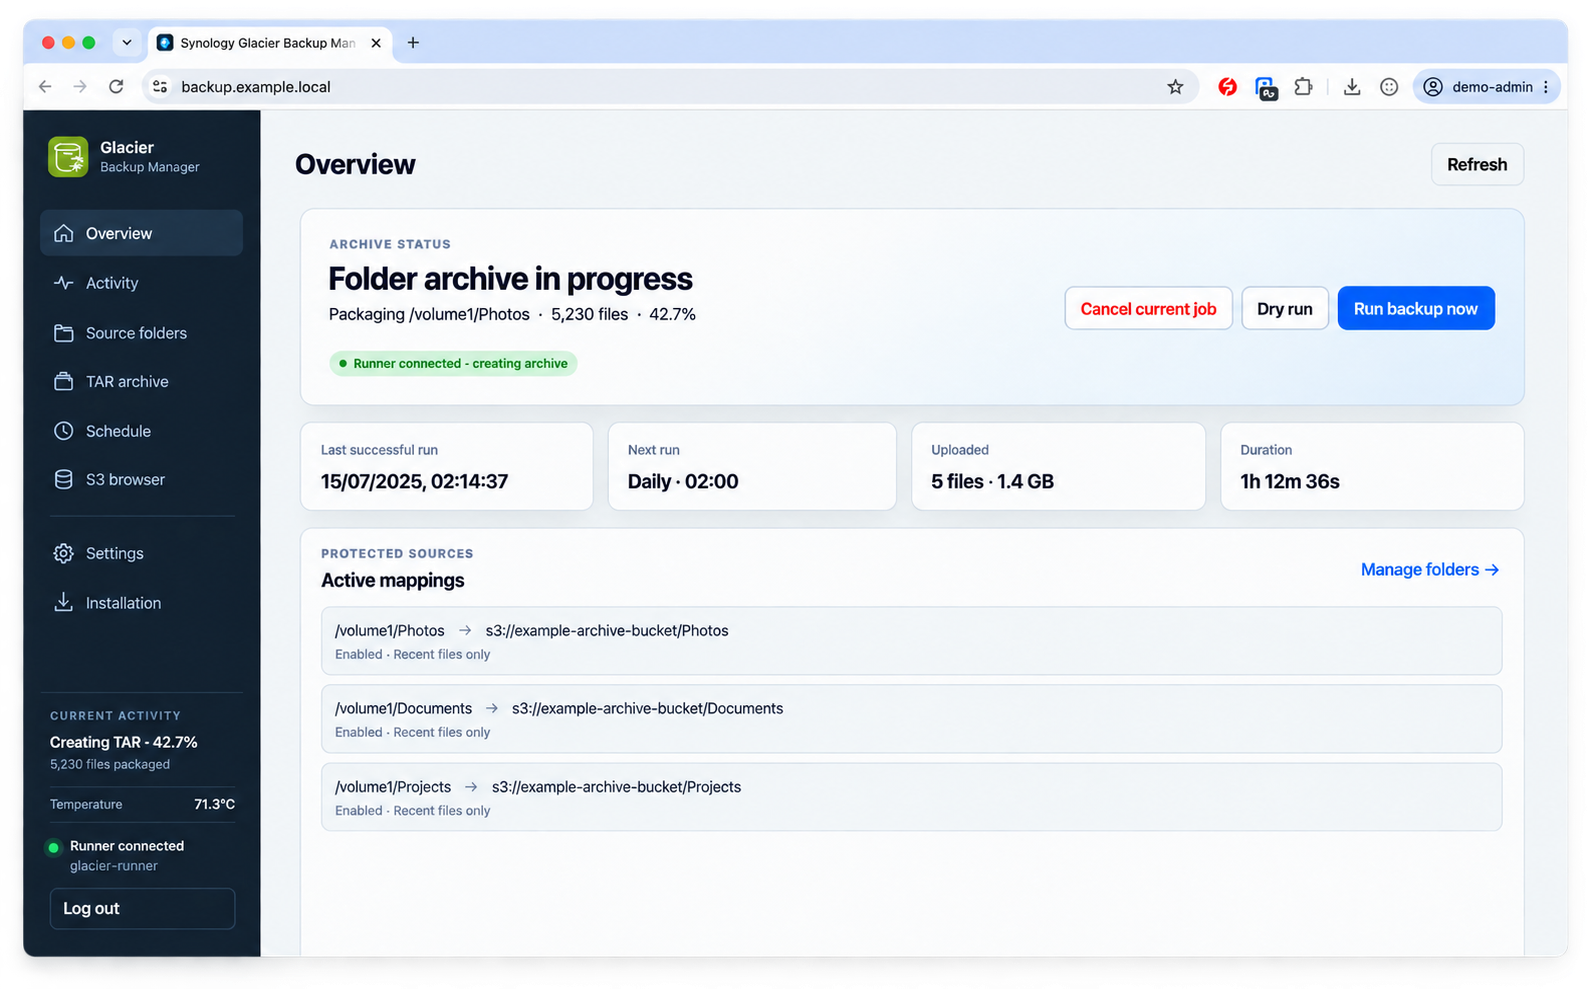
Synology Cloud Sync can copy files to S3, but checking a large NAS can generate thousands of API requests. In my case, that request overhead worked against the reason for choosing Deep Archive in the first place.
rclone was the logical alternative, but it has no GUI. Including and excluding folders is difficult if you are not comfortable with the command line. After Synology deprecated Glacier Backup, I built the visual interface I wanted as a designer: choose folders, preview a job and see what is happening.
Configure an rclone remote for your bucket.
Select exactly what is included or excluded.
Dry run first, then copy now or on a schedule.
Your S3 lifecycle policy changes the storage class.
Add only the folders you want to protect. Exclude subfolders in the browser, preview the candidates with a dry run, then copy recent changes immediately or on a schedule.
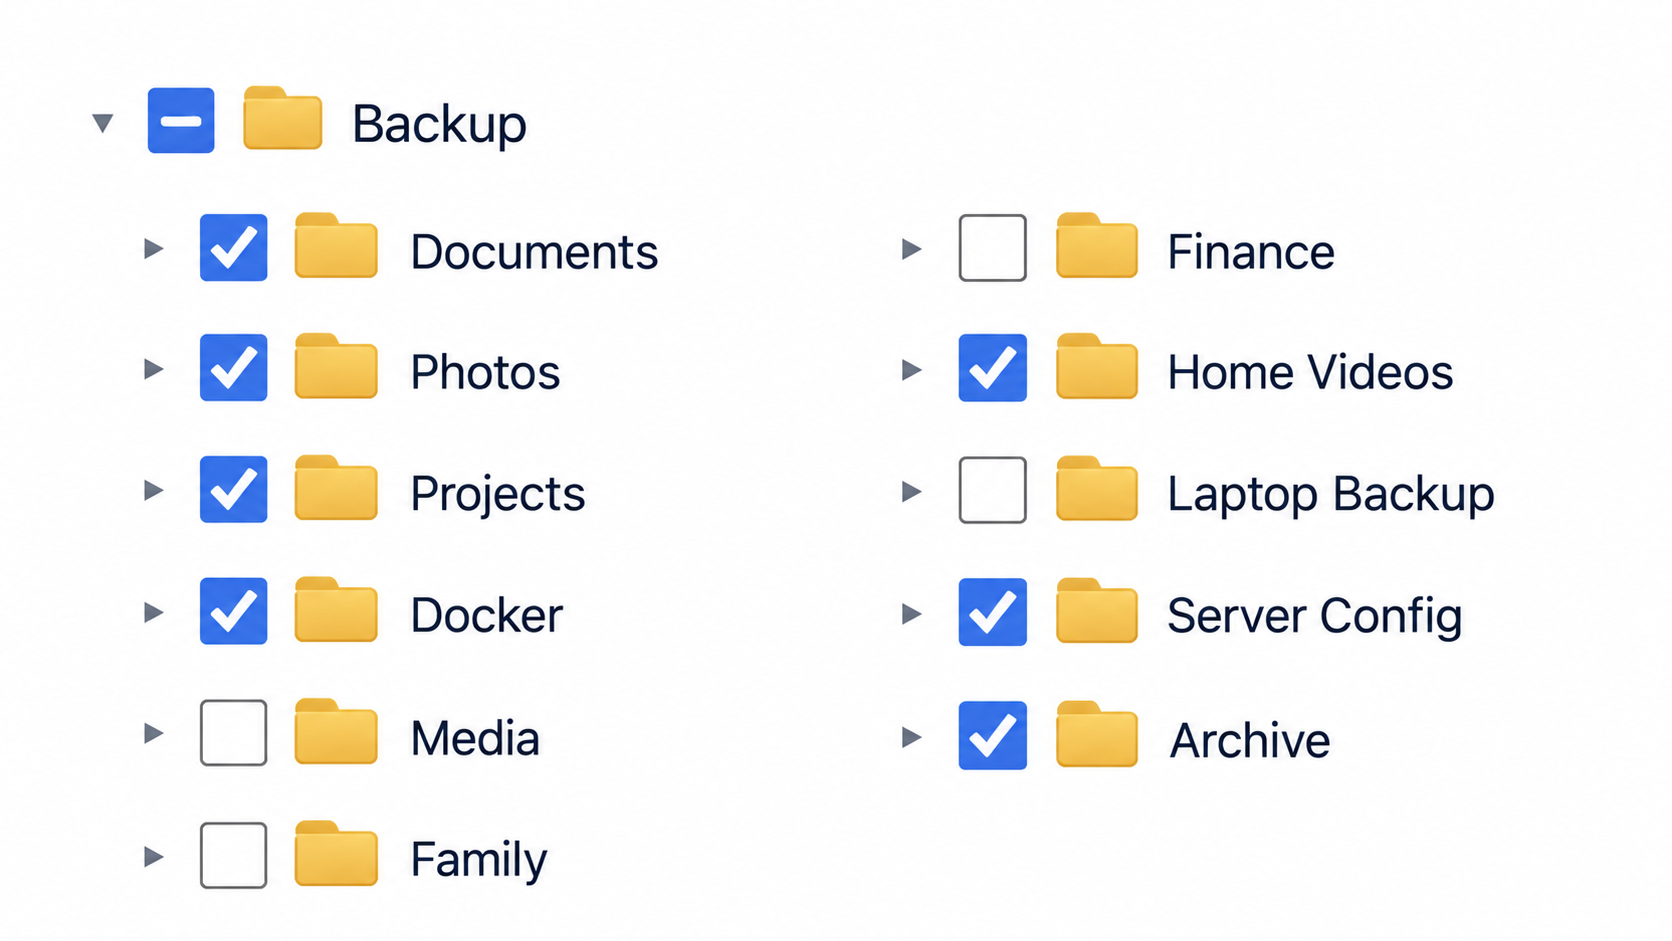
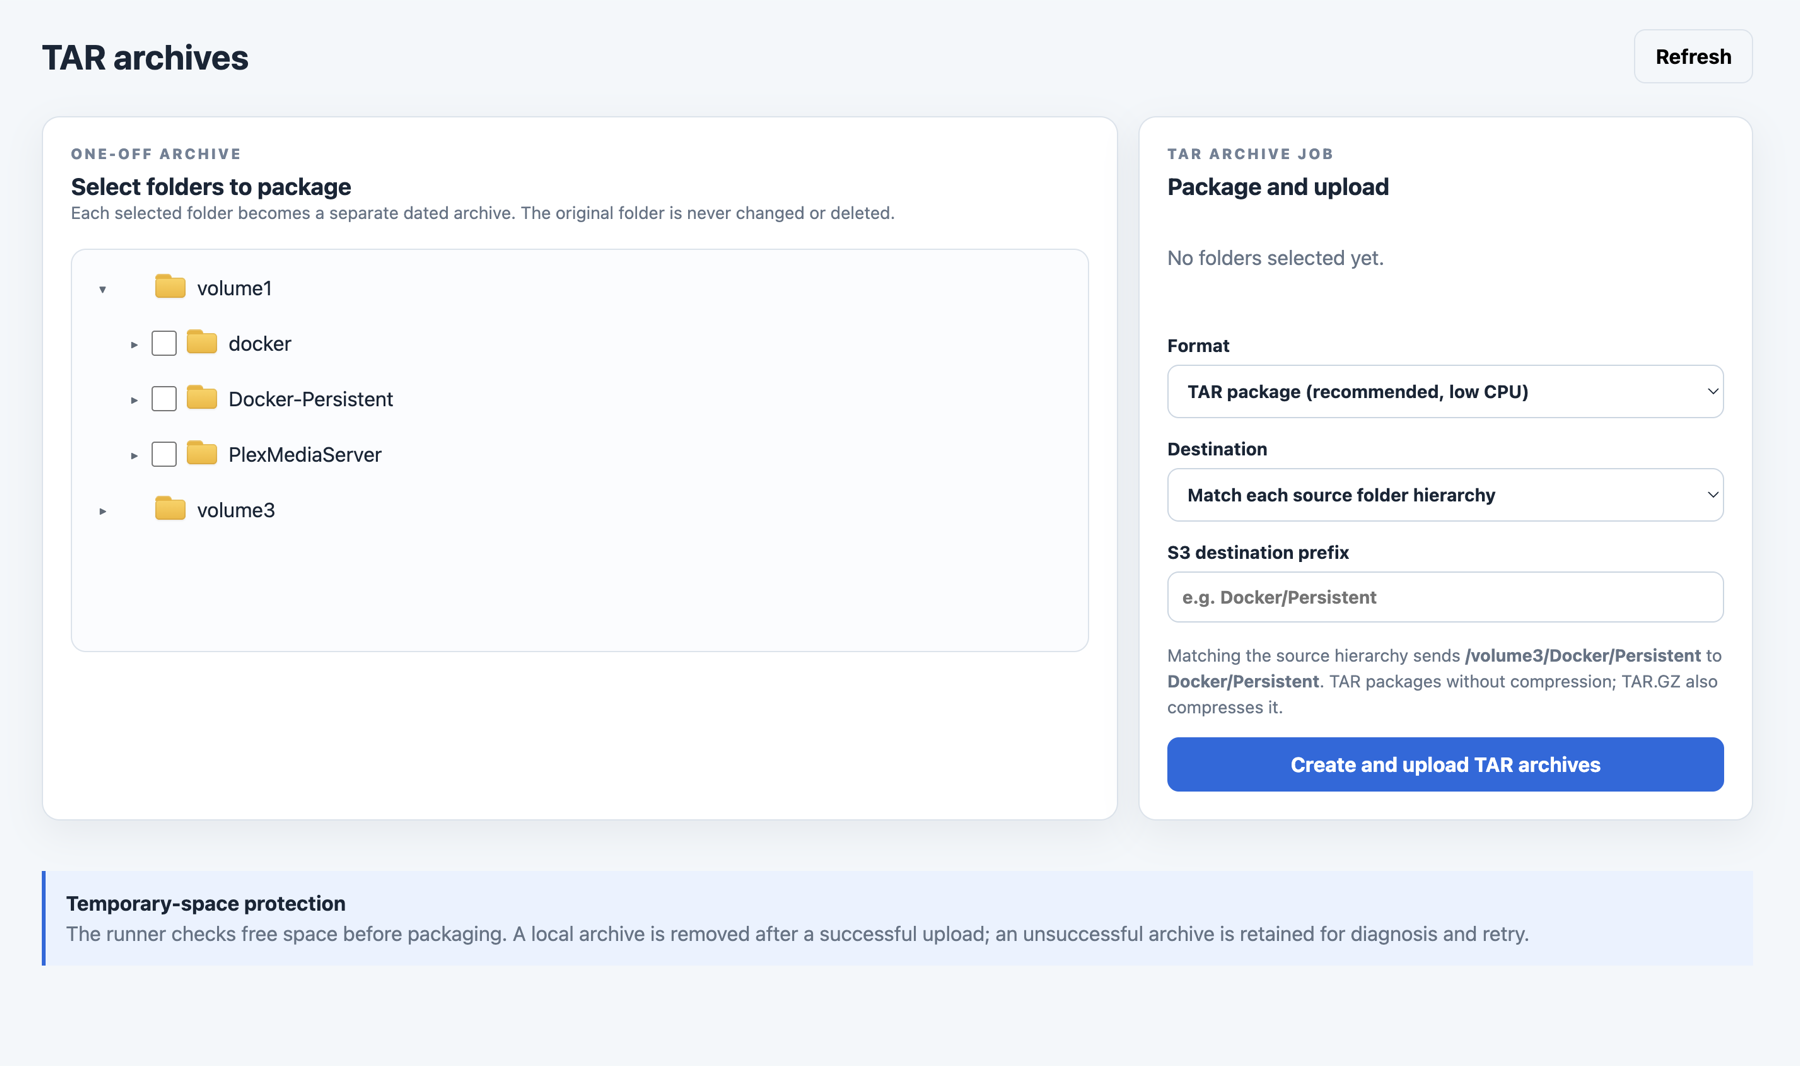
Select one or more folders and package each as a separate dated TAR or TAR.GZ file. The source hierarchy can be reused at the destination, so an archive from /volume1/Docker/Persistent can be stored under Docker/Persistent.
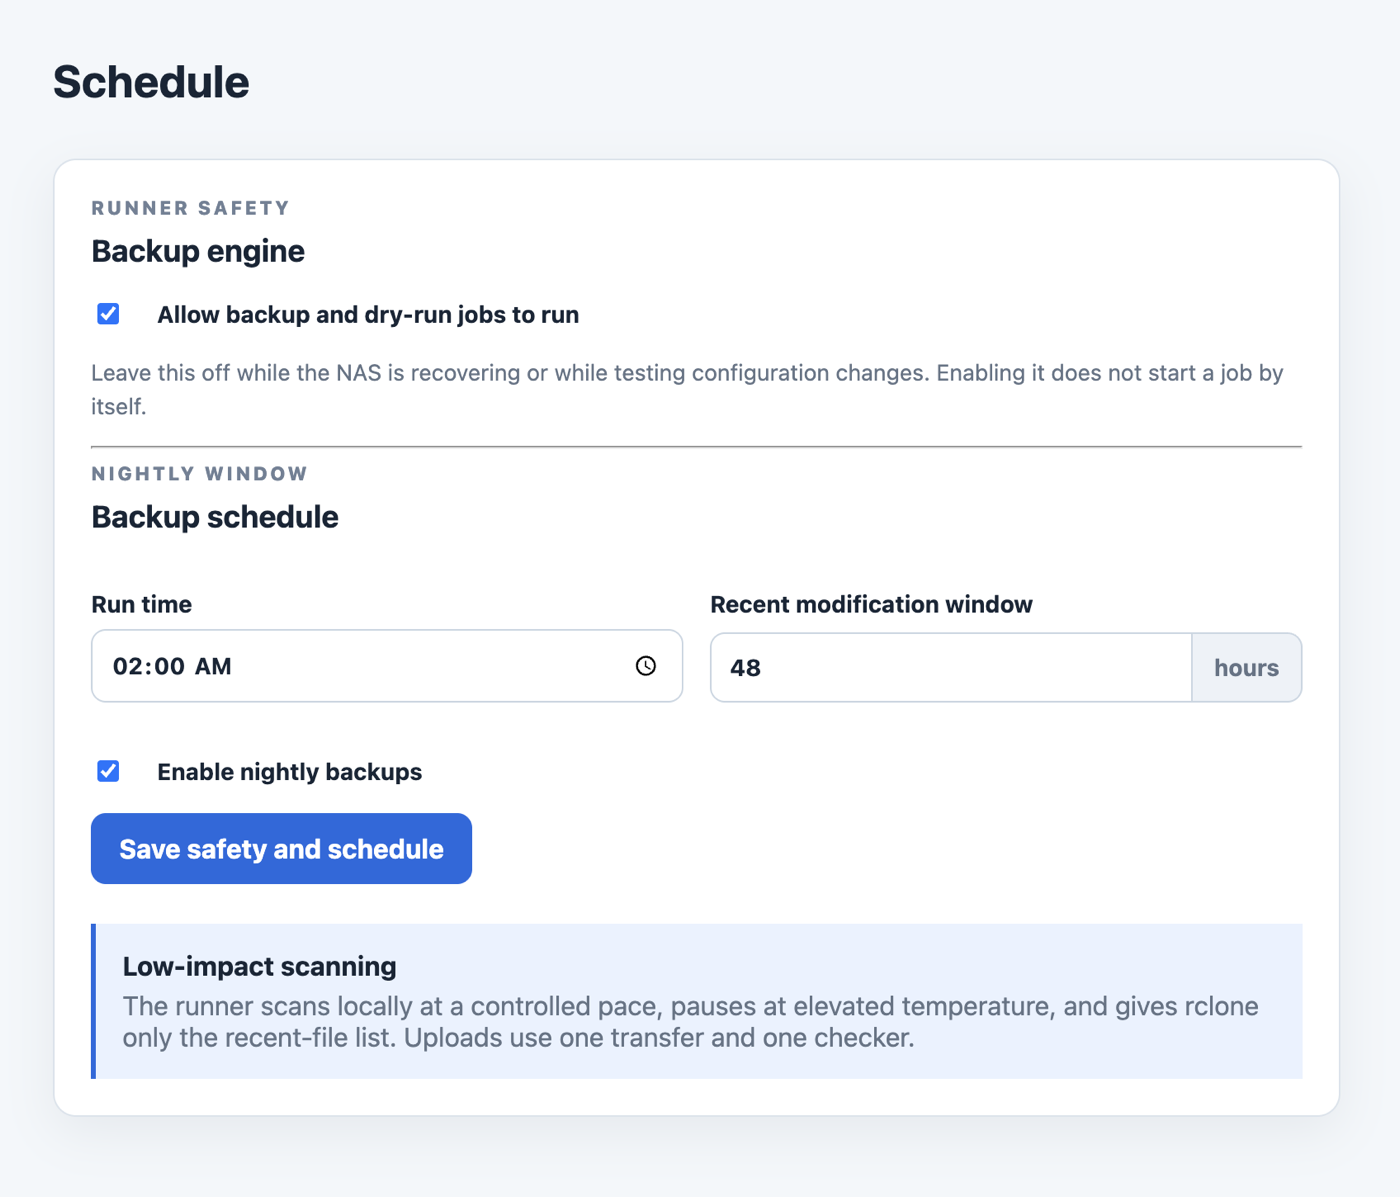
Choose when the nightly backup starts and how far back the recent-file window should look. You can pause scheduled and manual jobs without removing the configuration.
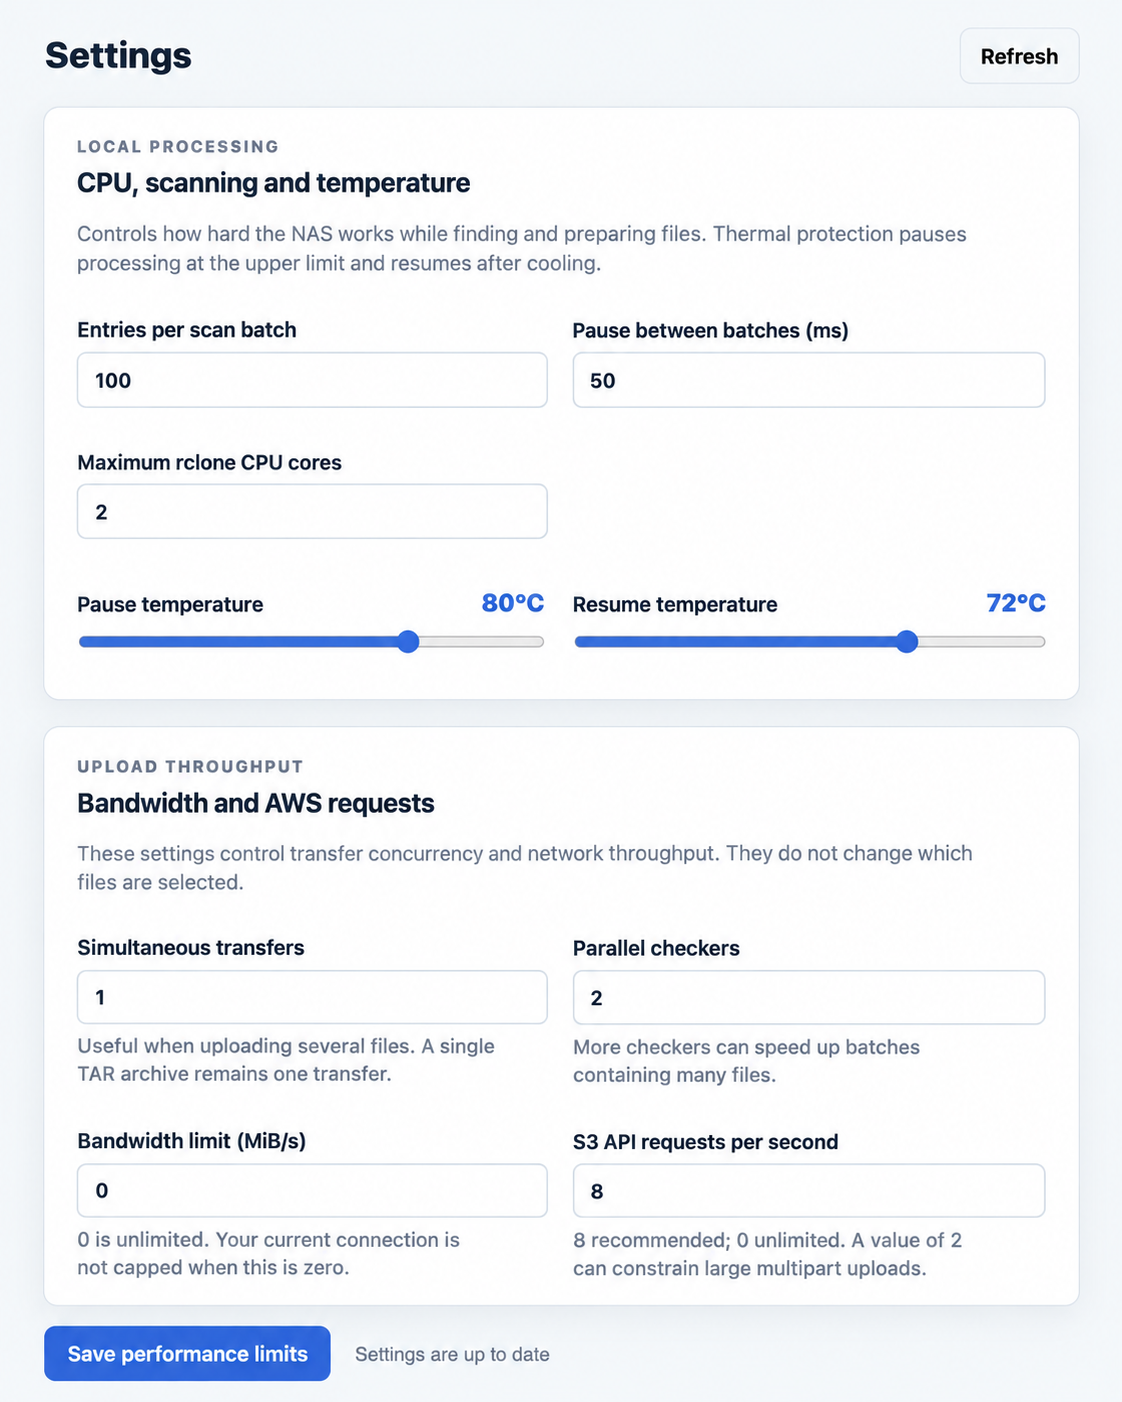
Set the scan pace, CPU cores, thermal pause point, bandwidth and AWS request rate. The runner stops work at the upper temperature and resumes after the NAS cools.
Choose the layout of your Synology. The builder creates the complete Portainer stack and DSM runner command with the correct volume paths.
In Portainer, open Stacks → Add stack → Web editor. Name it glacier-backup-manager, paste this file and select Deploy the stack.
The selected source volumes are mounted read-only. Only the manager’s data and log folders are writable.
After Portainer finishes building the stack, open http://your-nas:8787. Create the local administrator account, then leave the backup engine paused until the test upload is verified.
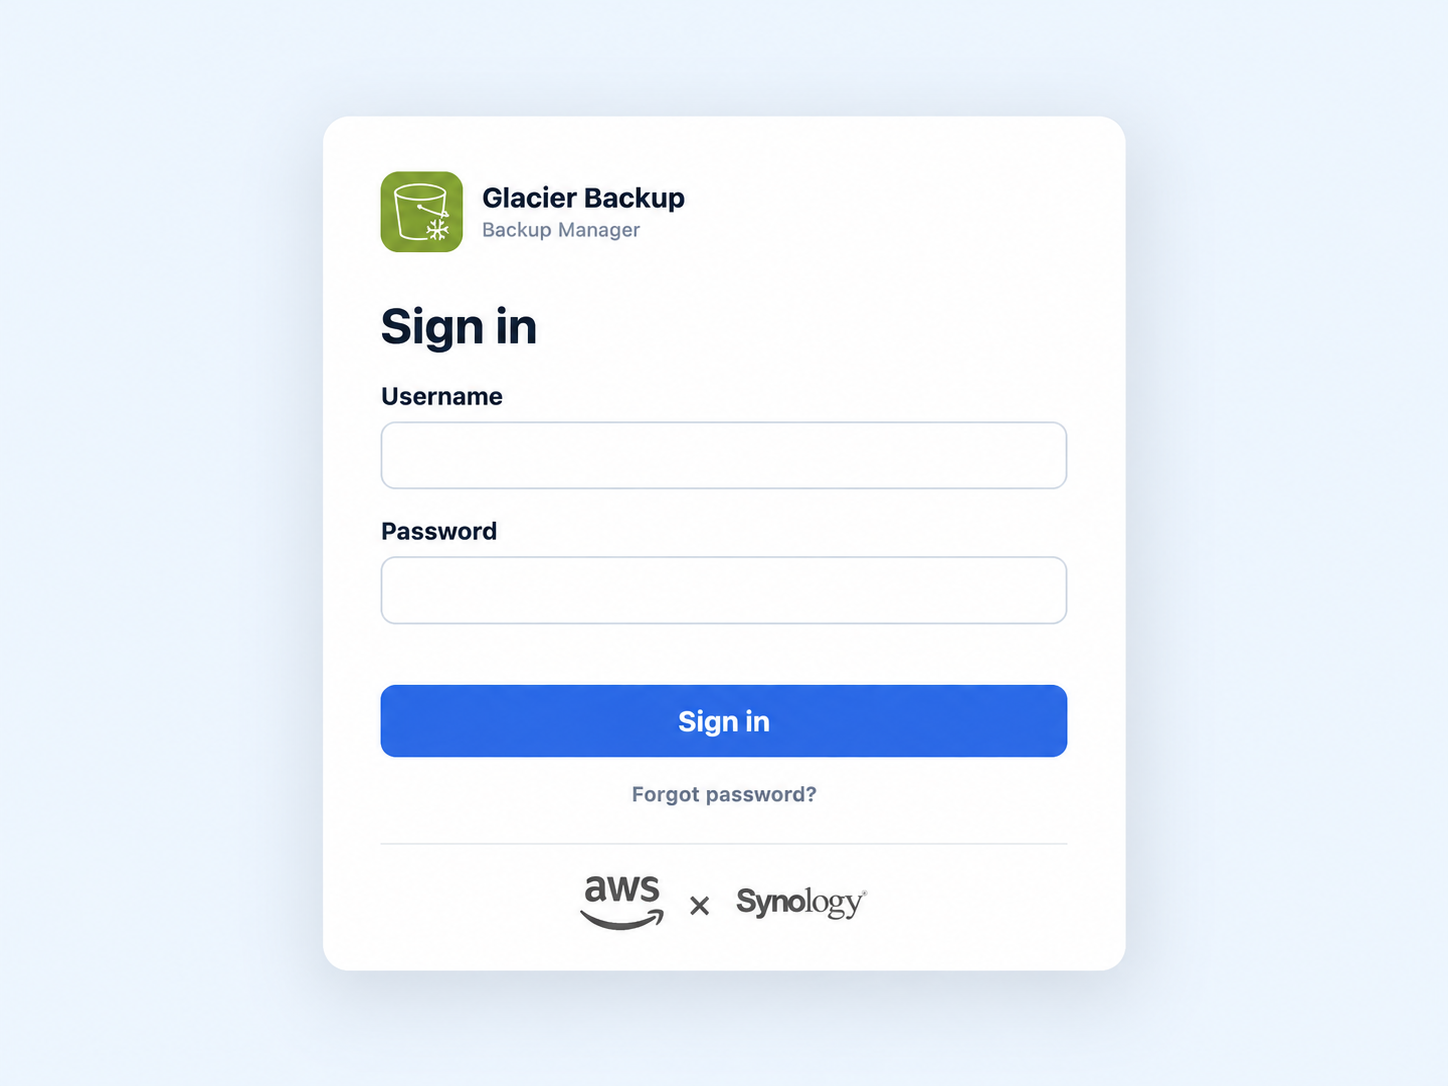
Open Control Panel → Task Scheduler. Create a Triggered Task → User-defined script, run it as your dedicated backup user and set the event to Boot-up.
Run the task manually once after installation. Then add one harmless folder, run a dry run, upload one uniquely named test file and confirm it appears in S3.
Read the full installation reference →
This is self-hosted software, not a managed backup service. You remain responsible for AWS permissions, NAS access, lifecycle rules, restores and independent verification.
First launch requires a username and a password of at least 12 characters with uppercase, lowercase, a number and a symbol. Passwords are stored as salted PBKDF2-SHA256 hashes, never as plaintext.
Sessions use random HttpOnly, SameSite cookies and CSRF tokens. Enable secure cookies when serving the interface over HTTPS. Login attempts are rate-limited.
The web interface never displays stored AWS secrets. One-time configuration requests expire, are written with restrictive permissions and are passed to rclone via standard input rather than command history.
Jobs rebuild mandatory arguments and use copy, --no-traverse and explicit source mappings. The application does not expose remote delete operations.
Glacier Backup Manager uploads to your S3 bucket, but it does not create AWS lifecycle rules or spending alerts. Complete both steps before relying on the backup.
Worth knowing: new Lifecycle configurations do not transition objects smaller than 128 KB by default. Deep Archive also has a 180-day minimum storage duration and restores are not immediate. Packaging many small files into TAR archives can reduce per-object transition overhead.